|


Home Grooming The Companion Old
English Sheepdog
"THE BASICS"
Clipper Blade Attachment, Removal &
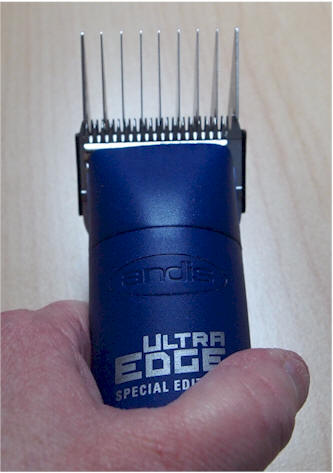
Spring-Loaded Snap On Combs
(For
An Andis Ultra Edge Special Edition Clipper) |
|
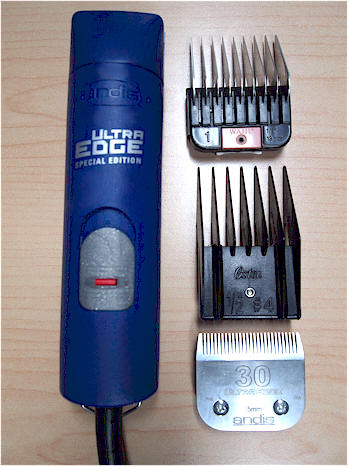
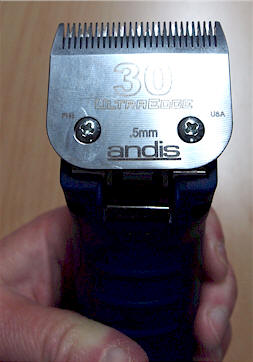
Clipper Blade Selection: Below are
links to charts provided by two top blade manufacturers...
Andis Blade Guide-
http://www.andis.com/USA/sm_animal/pdf/allBlades_chart.pdf
Oster Blade Guide-
http://www.osterpro.com/includes/Cryogen-XBladeChart.pdf
Caution:
Blades Get Hot!
I frequently touch the clipper blade
with my fingers or the inside of my wrist to monitor the heat level.
The higher the blade number, the faster they heat up. So a #10
blade gets hot faster than a #3 blade. If the blade is getting too warm,
it's time to either swap the blade for a cool one or use a coolant.
Multiple Blades-
As the blade gets too warm, I replace it with another matching
blade. I set the blade on a cool surface (I like to set it on
the tile floor). When I only had one blade, I would move on to
a different part of the dog that won't require that blade while I
waited for the blade to cool.
Blade Coolant- I do not spray the
coolant near the dog. They don't need to be breathing the
fumes. I put a grocery bag on the floor, away from the dog,
hold the blade over it and spray it in the bag to cool it.
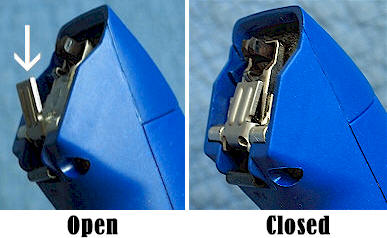
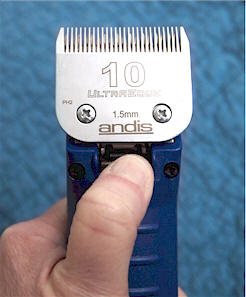
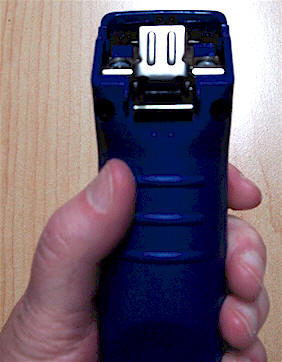
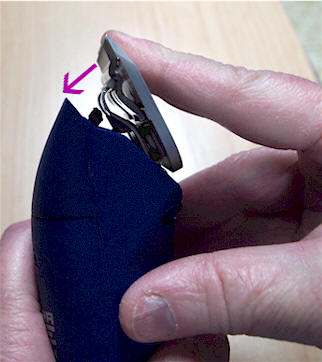
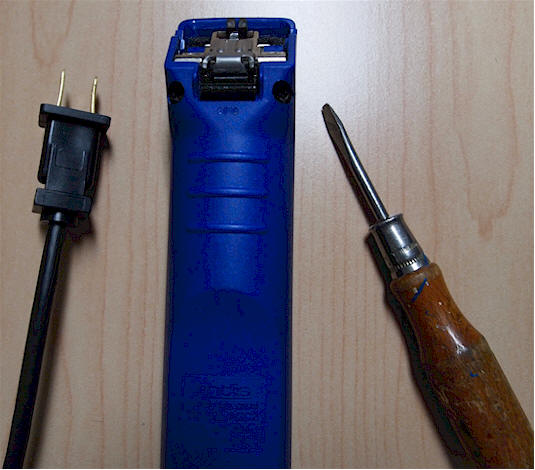
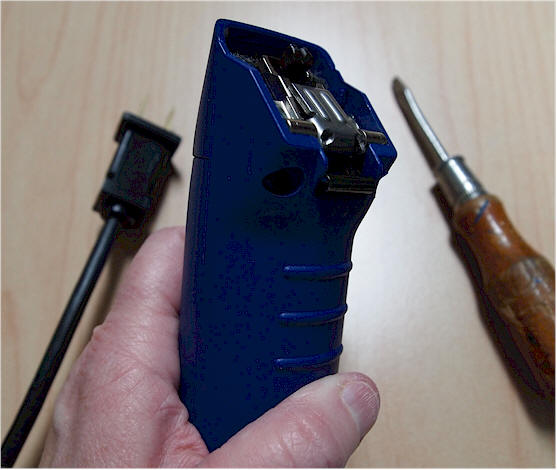
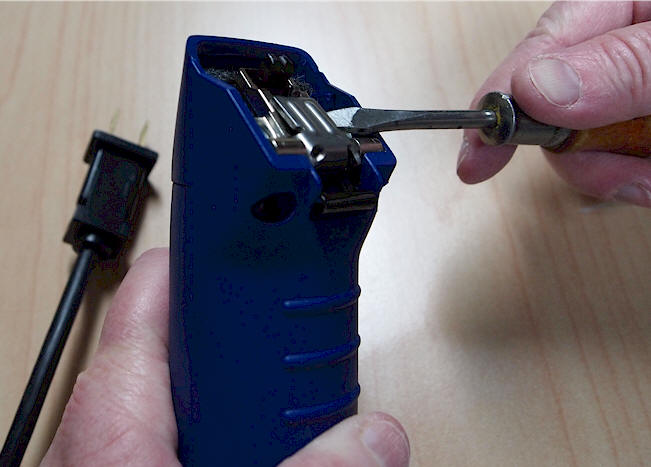
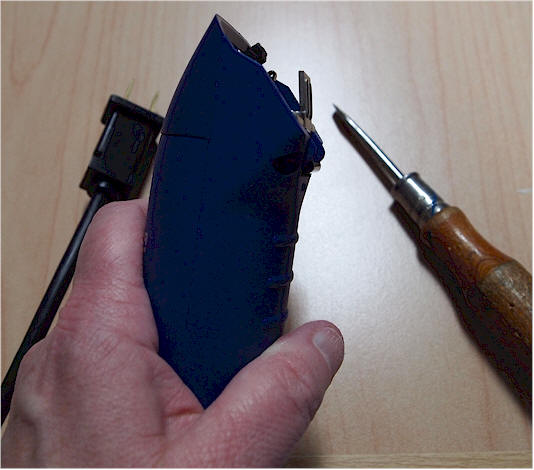
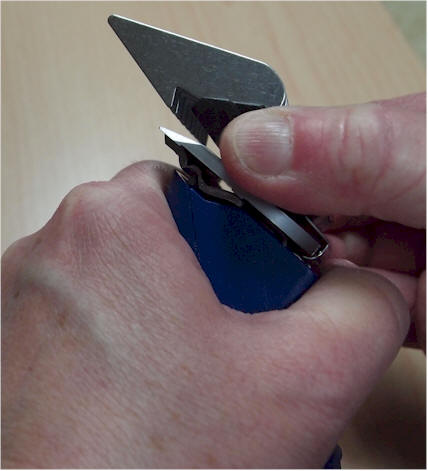
REMOVING A Clipper Blade
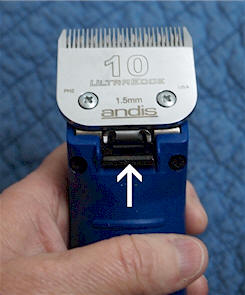
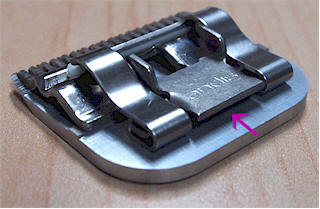
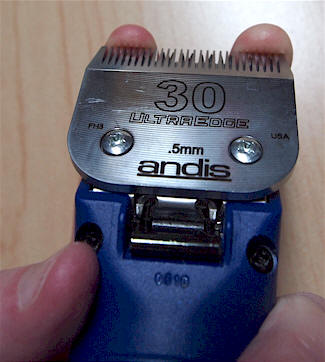
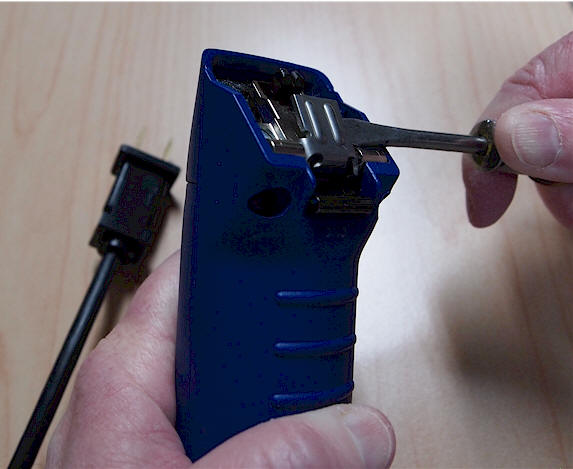
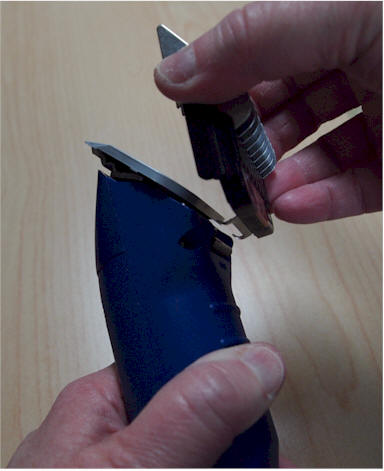
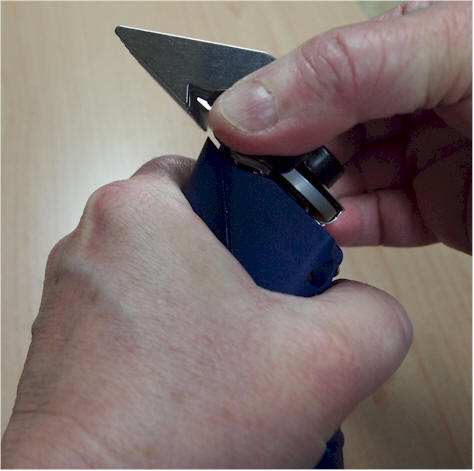
ATTACHING
A Clipper Blade
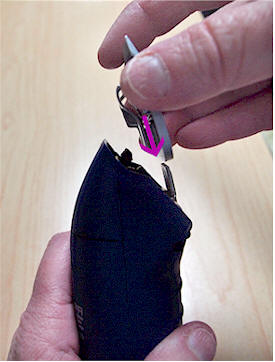
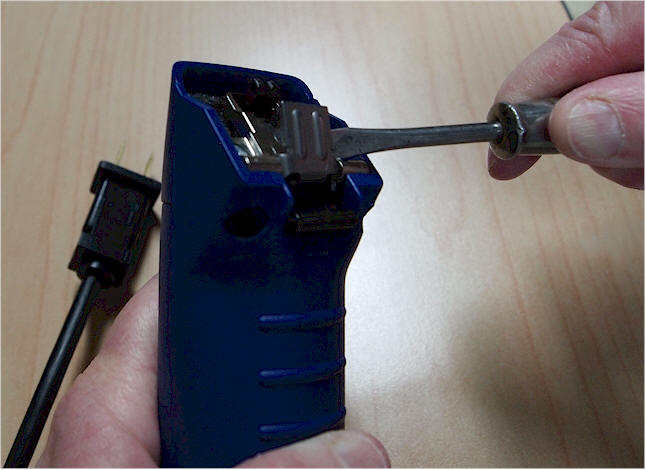
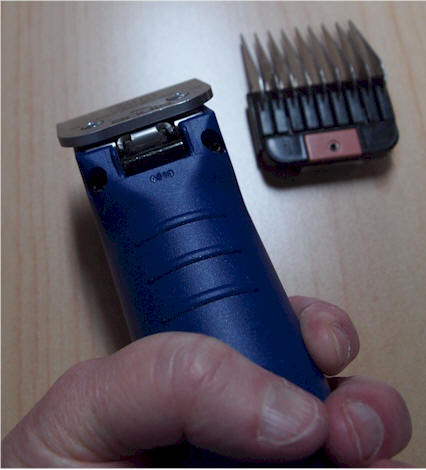
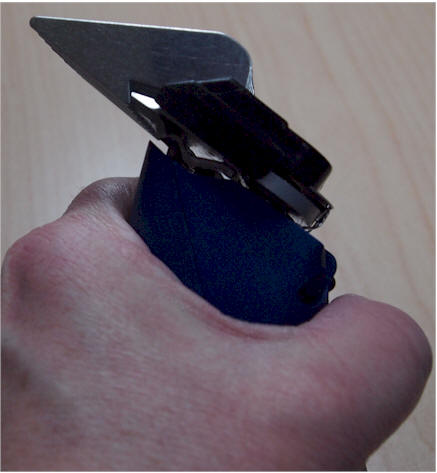
If
The Tab Accidentally Closes Without A Blade In Place...
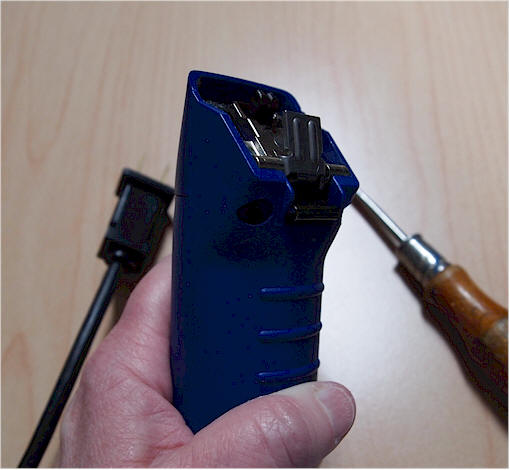
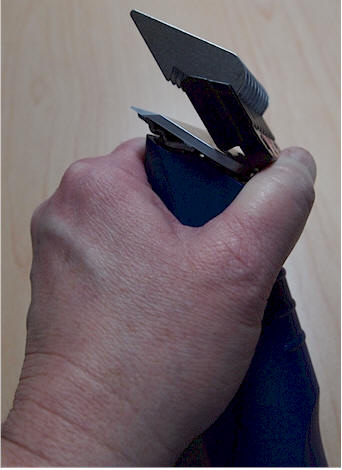
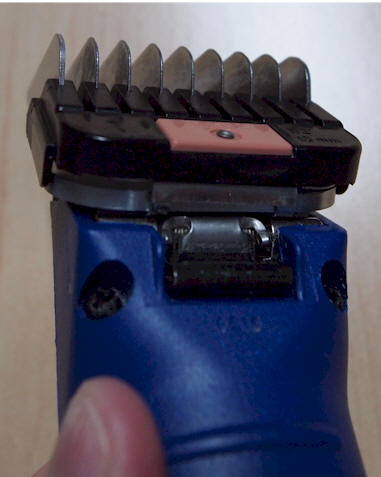
Attaching A Snap-On, Spring-Loaded Comb
Copyright 2011- J.
Dunne. All rights reserved. The photographs and
instructions on this page are the property of the author. Do not
reproduce or copy without written permission from the author.
|
|