
Home Grooming Companion Old English
Sheepdogs
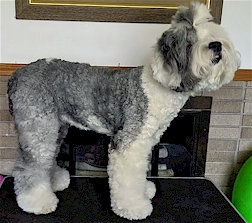
Sport Clip or Puppy Cut
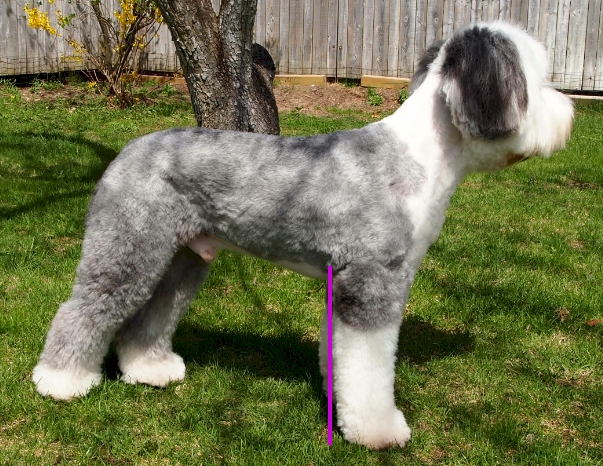
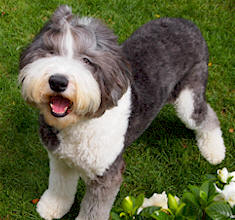
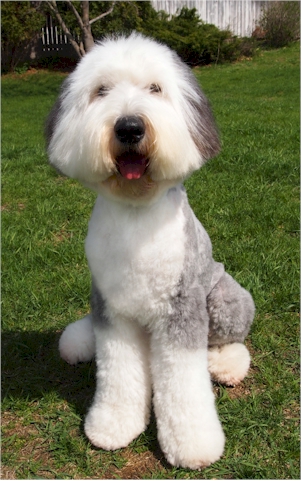
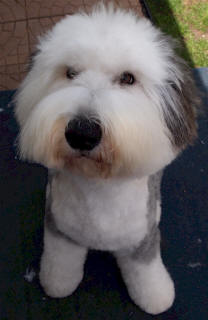
Old English Sheepdog
|
 |
Below is just one way an Old English Sheepdog owner tends to a dog's coat. Dogs
often need to be slowly desensitized to any new process.
This process can be more challenging to some owners. The
vibration of electric clippers can startle a dog so you need
to be slowly desensitize a dog to this process. You
need to proceed slowly, respect the dog's limits, praise and
reward lavishly so the dog will learn to tolerate it.
Only you know your dog and how he or she may respond.
Seek assistance from a professional if there is any chance
your dog could be harmed by it's exuberance or fear or if
the dog could display an aggressive behavior. Follow all
product safety instructions provided by individual
manufacturers. Try to make grooming a special
one-on-one time that both you and your dog will look forward
to. These instructions are offered as-is and
without guarantee or warranty.
|
|

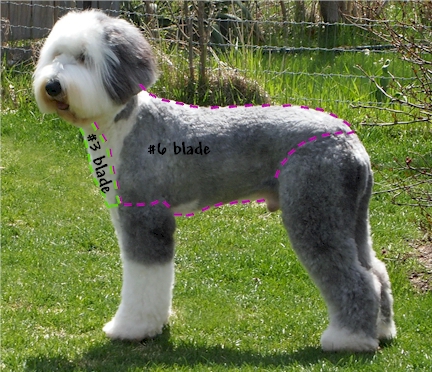
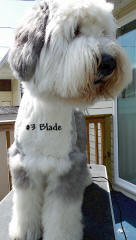
#6F, #3F and Scissored |
#3F & Scissored |
#3F & Scissored |

Completely Scissored
|
Above is the same haircut.
Everything was hand scissored EXCEPT for the
body/trunk/neck/chest
was shaved with the blade noted or scissored. The instructions below are for the dog on the left.
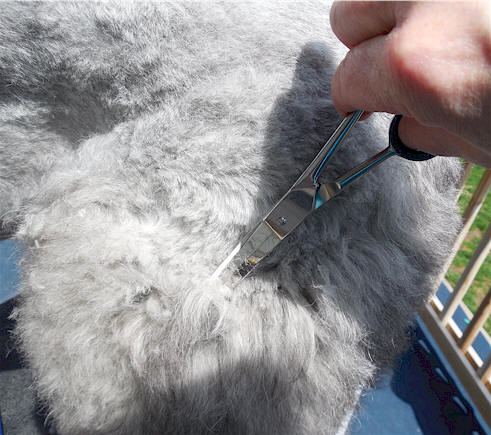
I'm careful to angle the scissor tips
AWAY from the dog so the dog won't
accidentally be poked with the sharp points
of the scissors. I make sure I know where
the skin starts/stops so I don't
accidentally cut the dog. And I frequently
touch the clipper blade to be sure it's not
hot. Remember that the shorter a blade clips
hair, the faster the blades usually heat up.
Note: The dog's coat type, the thickness and
texture, will influence the final haircut.
A
thick, crisp coat tends to stand up
more while a soft or thin coat tends to lie
flat. One of my dogs has a thin coat due to
hypothyroidism so instead of using a #6 on
the body, I use a #4 blade which leaves the
hair just a bit longer.
Electric Clipper With #3 & #6 Blades
Longer blades can be used or the trunk can also be scissored to match the length of the legs.
|
|
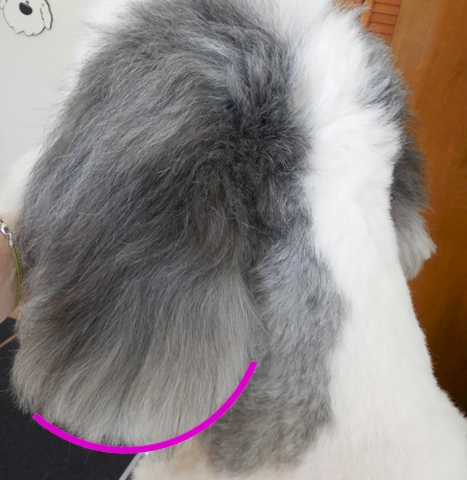
Shown above are the areas I shaved with clippers... note where the shorter
#6 and longer #3 blade lengths meet on front of the neck/chest.
(Easier to see in the same picture on the top-right. I
later blend the two lengths with scissors.
|
|
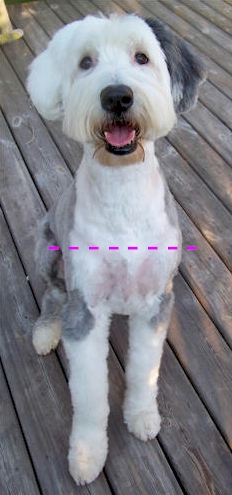
Why I
use a #3 blade on the neck/chest...
The picture on the right shows why I use no shorter than a
#3 blade on the lower chest. (This was all trial and error
for me too!) The dog was shaved with a #7 blade which
clipped shorter in some areas due to the direction of hair
growth. It wasn't razor burn... it was just that the
hair was so short it allowed her pink skin to show through.
So I now use a #3 blade at least on the lower front of the
chest. I do sometimes use the #4, #5 or #6 blade (the
blade I used on the trunk) from the neck/chin down to that
line... then a #3 blade for the lower chest.
|
 |
|
I almost always shave in the direction
the hair is growing... I go with the grain, not against it. To
get a more even finish, I usually need to go over an area a few
times. I either brush the hair back with a brush or comb or
sometimes just with the sweep of my hand so it lifts the hair.
I then shave the area again.


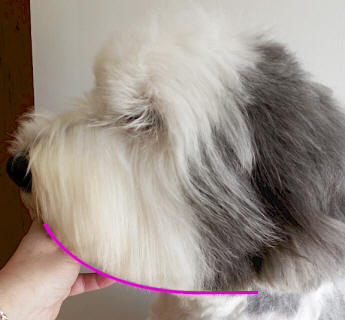
I've finished with the electric clippers. Refer to the picture
on the left for boundaries showing where I stop clipping.
Note the bottom of the chest, above the butt, back of the
head/neck and under the chin (see more specific pictures below).
If I leave a little too much hair, I can always shave a little
more or just scissor it to the best length.
|
 |
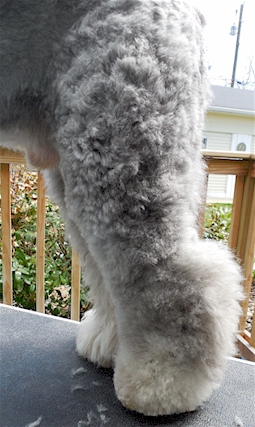
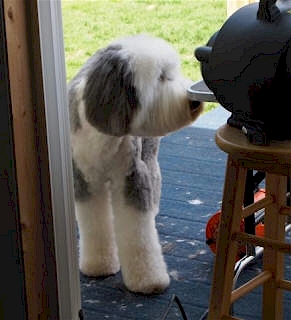
A Little Faster Haircut: Above is the same haircut except clippers were used down the hips
and legs to the hocks. The pink and off-white area of the chest is
done with an electric clipper. The other areas are scissored.
|
|
|
|
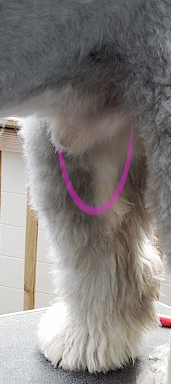
I shave the belly and private area with
the #6 blade. I also shave partway down the inner thigh.
|
|
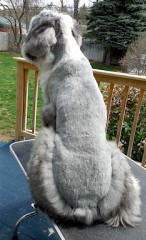
I shave down the back and stop
just above the butt.
|
|
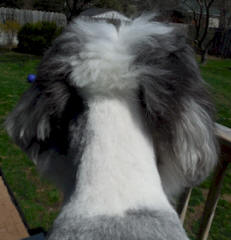
I leave the back of
the head longer... the area will be shortened up and blended
with scissors.
|
|
#3 blade down the front of the
neck/chest. The longer hair at the bottom will be scissored when the
legs are scissored to length.
|
|
 Above is where I stop with the #3 blade on the neck, under the chin. |
|
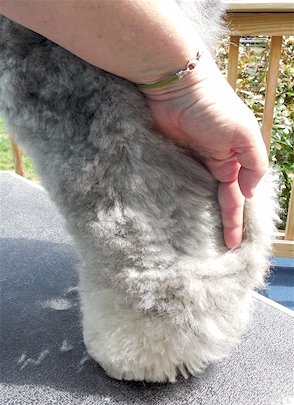
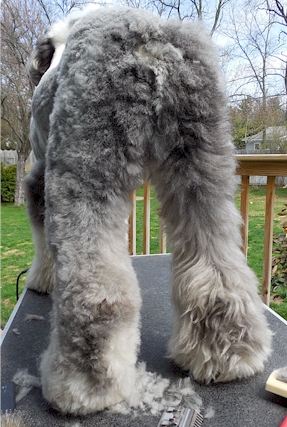
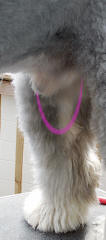
Trimming the Hips & Thighs
|
|
|
|
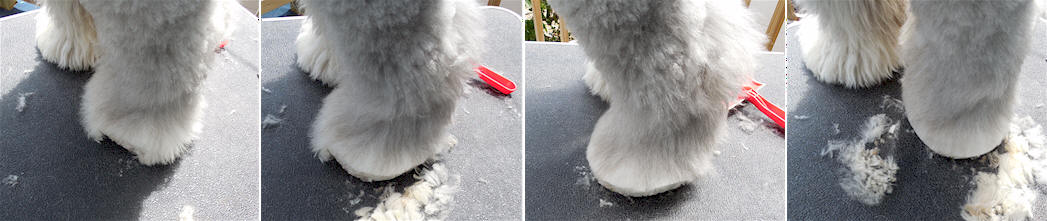
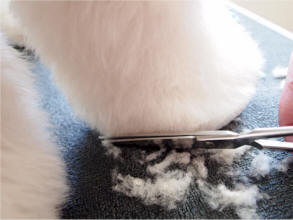
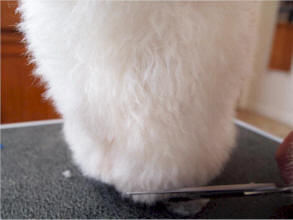
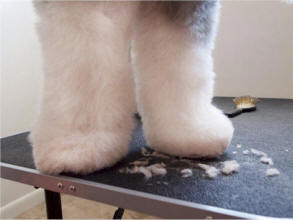
Scissoring The Front Legs
|
|
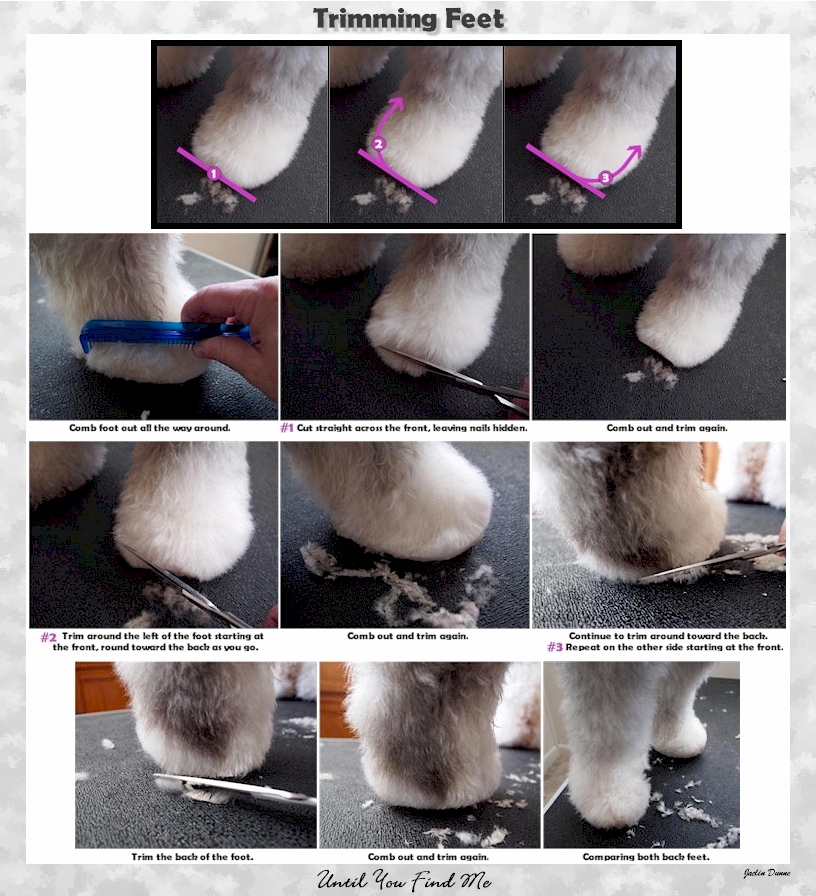
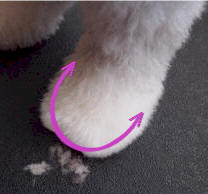
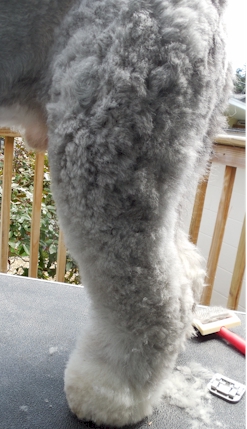
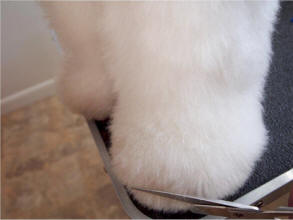
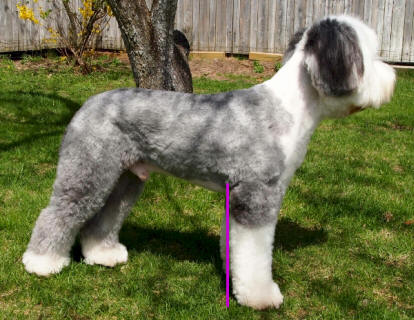
Think cylinders/tubes when trimming the front legs. I locate the
toe-pad on the back of the front legs (at the wrists) so I
can avoid them. Starting at the longer hair near the elbow,
I scissor straight down the back and both
sides of the leg. I try not to disturb the rounded
foot hair done in the previous step. I fluff with a brush frequently and
trim again. I'm aiming for a straight cylinder
shape. (I didn't quite get it! ;) I trim the
front of the front legs the same way BUT... I stop above
the curve/bend at the top of the foot.
I
either have the dog lie down so the legs are extended
straight in front. - OR - I lift/extend the leg
straight in front. Fluff the hair and trim to the
proper length.
|
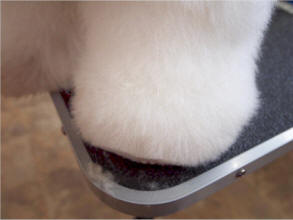
Before |
After
|
|
The long hair that was left at the bottom of the chest is
trimmed shorter with scissors so it blends to the length of
the chest/legs. Above is the before/after scissoring/blending
of the bottom of the chest area.
|
|
Bath Time
|
Trimming Head Hair
|
|
|
I bathe
and thoroughly dry the dog. After the dog is dry, I go over the entire dog
one more time, fluffing the hair with a brush and trimming everything I missed.
Then I move on to the head.
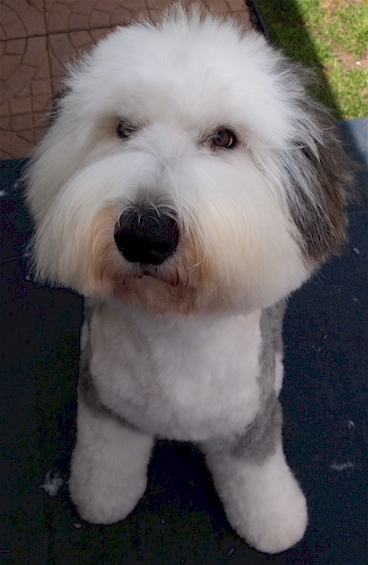
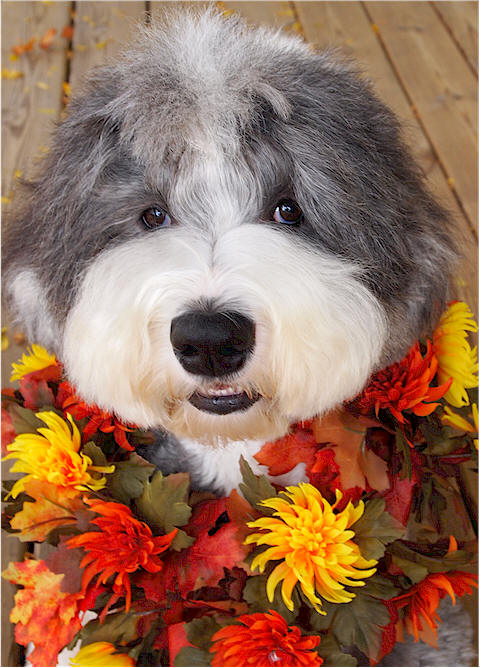
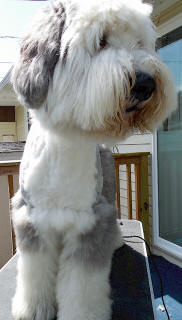
I always leave my dogs' heads BIG. You can trim them shorter
or you can can trim them different ways. Here is one of the ways I do it...
|
Note: If you want the ear hair length to match the back of the beard
(near the neck) do not trim the beard shorter than the actual skin
length of the ear flaps. Always locate the ear skin
before trimming... if in doubt, part the hair to find out exactly
where the ear skin ends.
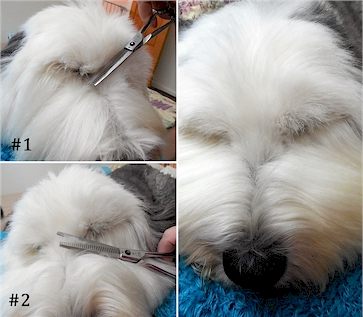
I trim the beard to length first...
on an angle or somewhat curved... shorter at the front, longer at
the back near the neck. It's a blunt cut. It can later
be blended with thinning scissors for a softer look.
I
use thinning scissors near the front by the nose/mouth to soften the
cut. Be very careful the dog doesn't stick his/her tongue
out... you can accidentally clip it!
|
After the beard is
trimmed to the desired length, I trim the ears to length.
Again, I part the hair to learn exactly where the bottom of the ears
end and the hair starts.
Making sure the head is held
level, I trim the bottoms of the ears straight across to match the
beard length at the back near the ears. I then lift the head
up and scissor to blend under the chin-area where the shaved front
of the neck area meets the longer beard hair.
|
Finishing Ears
|
Rounding Up the Head
|
|
|
I round partway up the back of the
ears and soften with thinning
scissors. I flip the ear
flap up, comb and trim to neaten
up the hair there too.
This dog's ears had already been
trimmed underneath and
plucked.
When both ears are trimmed to
length, I trim the top of the dogs
head. If I want more of a mop-top
look, I leave the hair on top of the
head longer. Or I trim shorter
like with this boy who never
requires a topknot. If the dog
has thick/course hair, it may stand
up more like a crew cut. If the
dog has thin/soft hair, it will
lie flat. I cut the hair
with regular scissors, then
follow up with thinning scissors
over the head. I blend the
hair from the top of the head to
partway down the ear flaps. I
use thinning scissors to
soften/blend the hair behind the
ears near the back of the head
and across the back of the
skull.
|
|
I comb out the hair
around the face and
lightly trim it into
more of a circle.
I often use thinning
scissors to soften the
look. I'm careful not to
take too much off on the
sides (in front of the
ears) or the ears may
not look right.
To soften the blunt cut
to the beard, I lightly thin
along the bottom with
thinning scissors. |
|
|
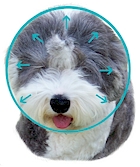
Trimming Hair Near Eyes |
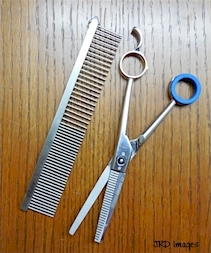
Tools Used:
Comb and
thinning/blending scissors. |
 |
Old English Sheepdogs must be able to
see. I keep some in
topknots and others I keep
trimmed short so the hair
doesn't obstruct their view.
I trim near the hair near
the corners of this dog's
eyes so he can see... also
his eyebrows.
|
I blow the dog off with the
dog dryer to remove hair clippings and release the dog to go
play.
|
|